Henna tattoos - How to realize them at home!
Thursday, September 9, 2021
Henna tattoos are non-permanent tattoos that are made with a compound of dried leaves and branches obtained from Lawsonia Inermis, known as Henna. From this compound comes out a red dye used since ancient times to color and decorate parts of the body and that today is also used to dye hair.
Recently henna tattoos really came back in fashion and they are super trendy especially during summer, when people love to show them off at the beach.
So let's find out the meaning and origins of this type of temporary tattoos and how to make them easily at home!
History and meaning of the henna tattoo
Henna tattoos are very common in the Far East where they are called Mehndi. In ancient times they were considered as a sign of good omen and used especially during special occasions such as weddings.
Today they are used by the Eastern and North African populations as ornaments or decorative elements of hands and feet, mainly for ceremonies. Indian brides for example are given the henna by their future husbands and can deicide to create their own design: the eyes keep away the evil eye, the checkerboard drawings open new future scenarios, wishing all the best for the beginning of a new life, the swan is the bearer of success while the peacock is the symbol of beauty and so on.
In the West henna tattoos do not have a precise meaning, they are more of a fashionable ornament, especially because they last and are cheap, thus allowing those who do not want to get a permanent tattoo to decorate their skin in a temporary way, showing off beautiful and particular designs.
How to realize a henna tattoo at home
If you are feeling creative it is quite easy to create your own henna tattoos at home.
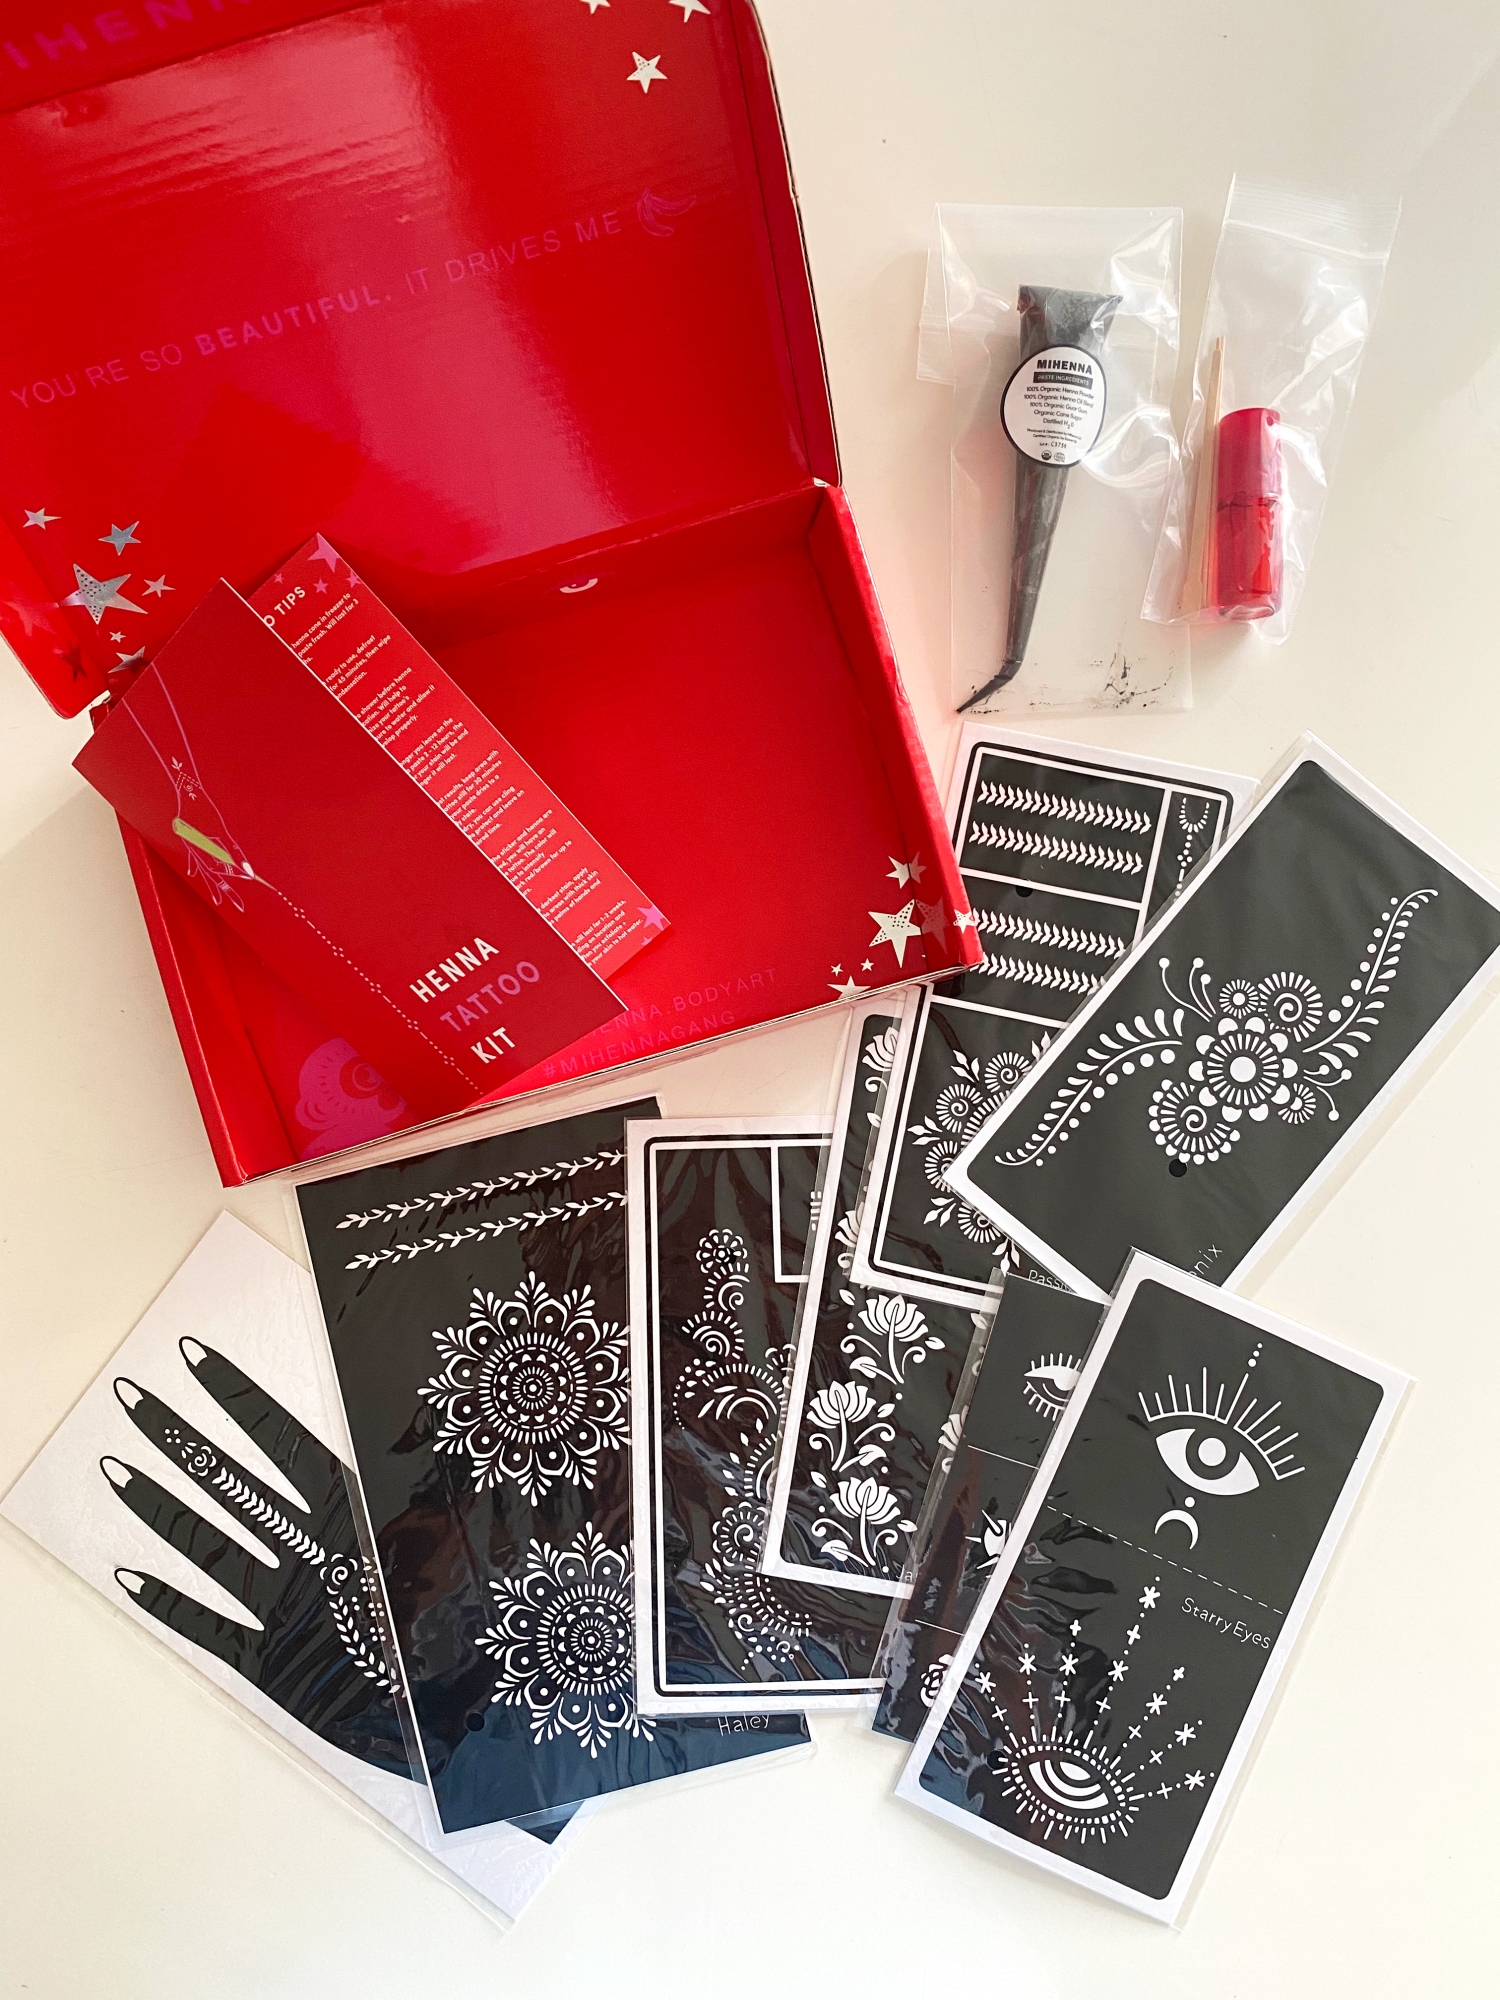
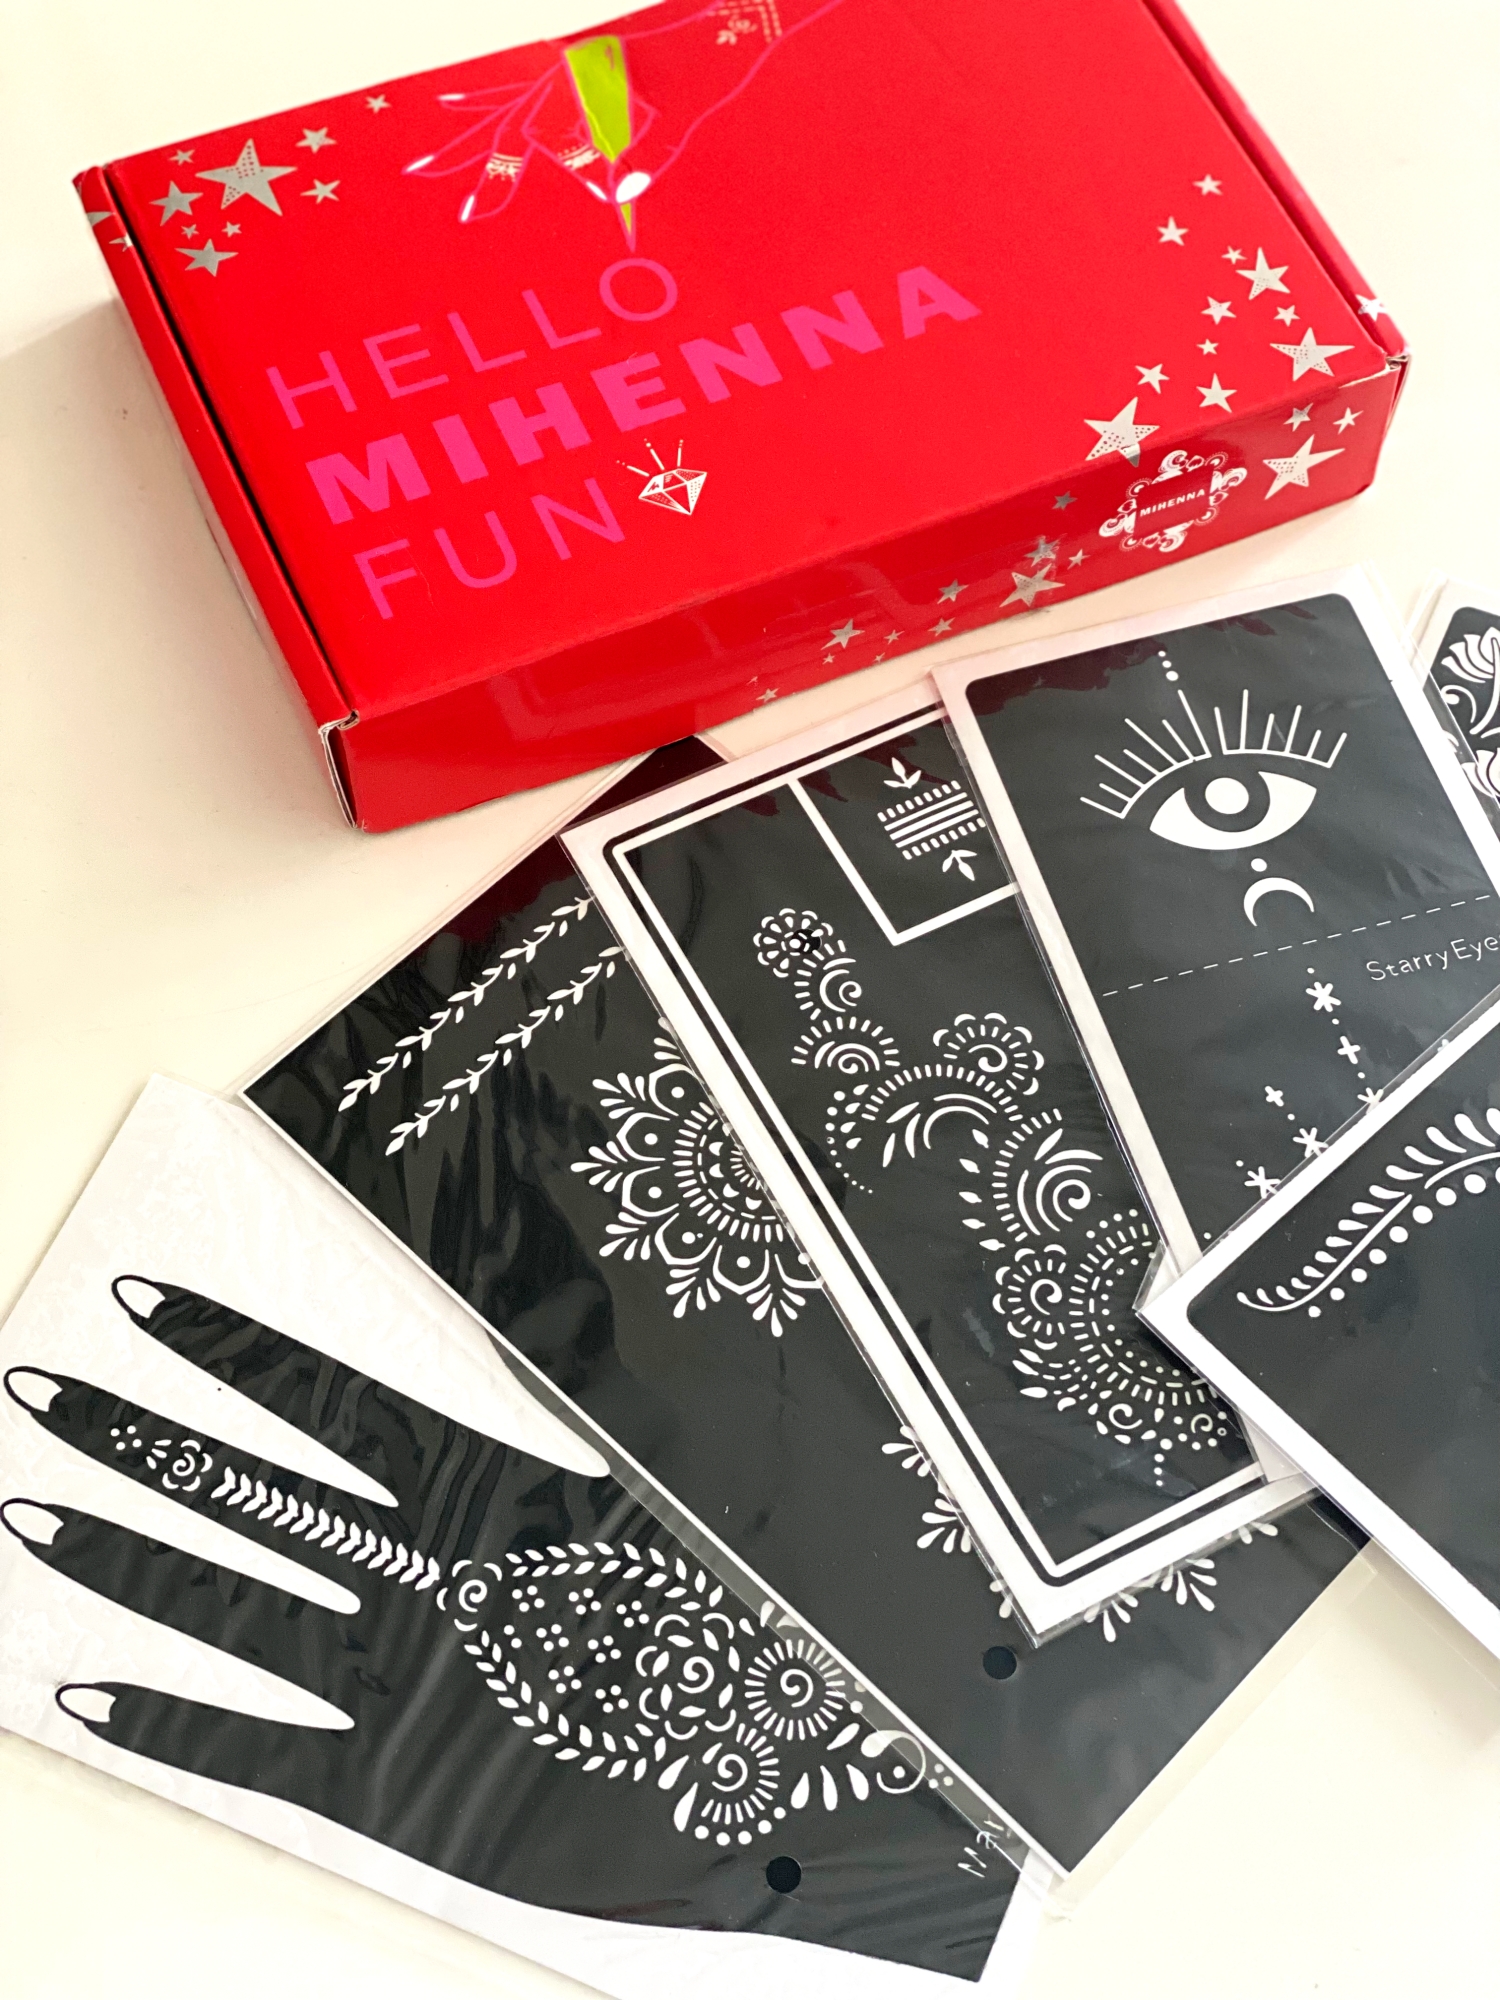
What you need is just a professional henna kit such as the one that you can find on Mihenna website, the one-stop shop for all DIY henna supplies.
This best seller kit includes:
- organic henna paste made only with high quality ingredients ( a custom mixture created to naturally enhance the color and longevity of henna tattoos);- sticker stencils to create different designs;
- coconut oil to moisturize the area and to protect your body art when exposing it to water (for example when you shower or at the seaside);To get a professional result you just have to grab a stencil and cut out the design you like. Apply the henna paste over the stencil with the provided cone, that makes it easy to control the paste while freehanding henna designs or filling the stencil.
Let it dry between two to twelve hours.
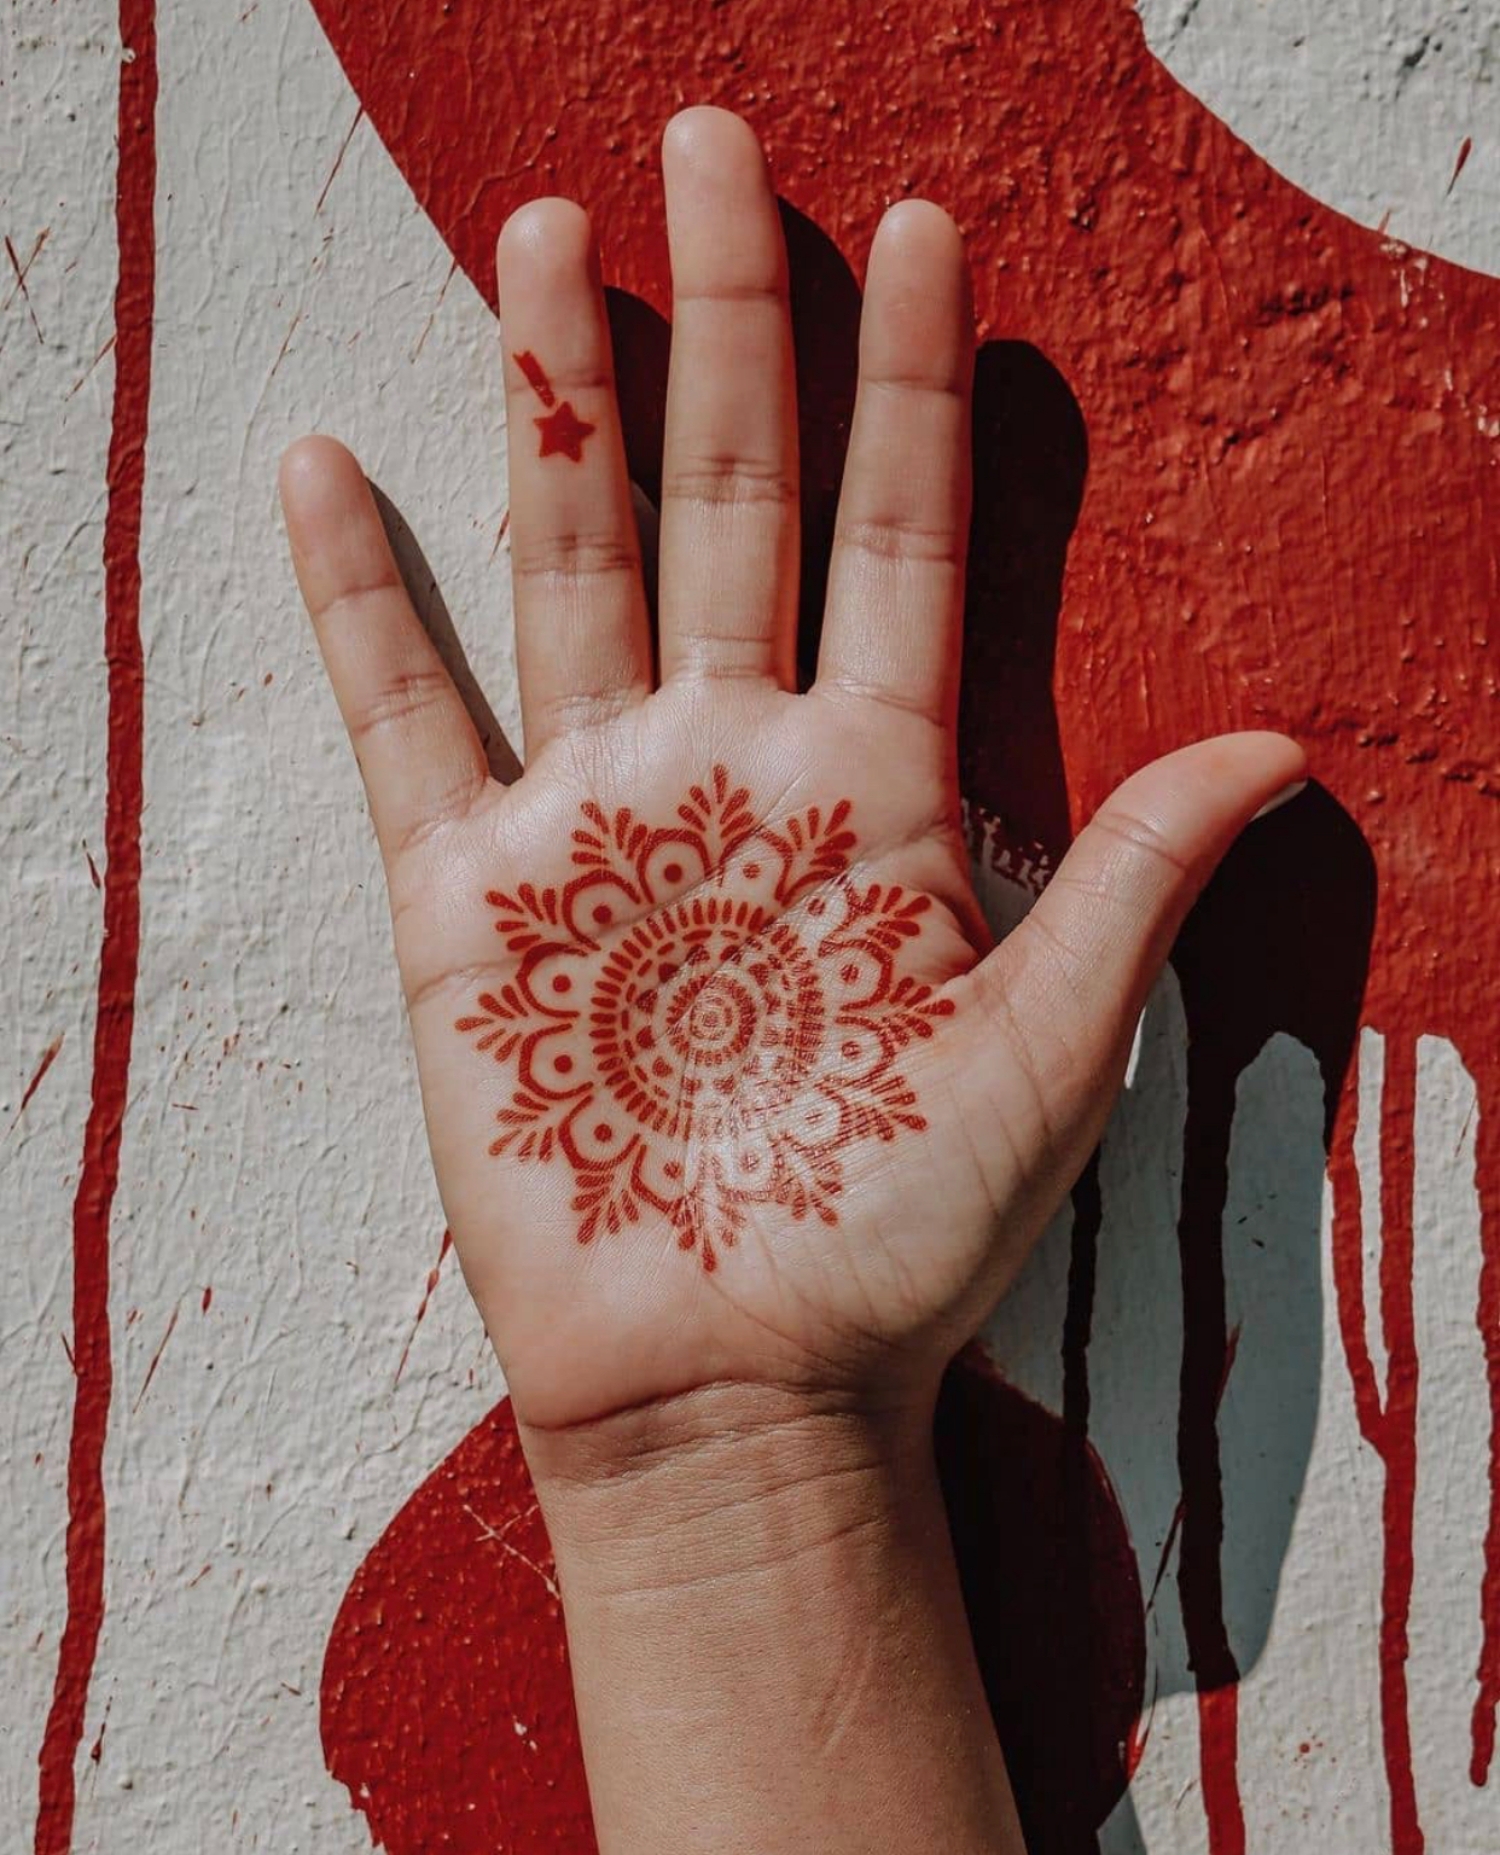
Finally, you can remove the stencil and apply the coconut oil to moisturize the area and keep the tattoo vibrant for up to two weeks.
A few easy steps and you will really get amazing henna tattos!
Just one recommendation: before full application, test henna in a small spot so to be sure not to have an allergic reaction occurs.
As for the kind of tattoo, you can choose for the more traditional designs (such as mandalas) or opt for something more creative and modern. You can even create freckles with you henna kit!
Just be creative!


Oh wow! This is so great. I love that it comes with stencils for the designs.
ReplyDeletethe creation of beauty is art.
These are so pretty!
ReplyDelete